Map based event managed with MEVN stack and Vuetify - Part 1
December 05, 2018
What we’re doing
We’re going to build a SPA for managing real time events.
The UI will be based on Google Maps - that is, centered around a map, with management options in a side drawer. We’ll use Vuetify for the UI design, and mongo+express to store and serve the data.
Technologies
- Vue.js
- Vuetify
- MongoDB
- Express
Scaffolding
We’ll start scaffolding the app with vue-cli.
$ npm install -g @vue/cli
$ vue create event-manager
Vue-cli will ask you for the preset. Just select the default - press enter. This will give us babel and eslint out of the box. Now yarn will install dependencies automatically. After that add the vuetify package, again choose the default by pressing enter.
$ cd event-manager
$ vue add vuetify
$ yarn serve
When it’s done, we can sanity check that the project compiles alright:
Going to http://localhost:8080 in your browser should give you something like this:
This is a good time to init the git repository, and start tracking changes.
$ git init
$ git add .
$ git commit -m "first"
The main layout
Now that the scaffolding is done, we’ll create the main Dashboard component. The general app layout will be based upon vuetify’s basic pre-defined layout.
Rename the src/components/HelloWorld.vue to Dashboard.vue, and copy and paste everything from vuetify’s baseline layout:
<template>
<v-app id="inspire">
<v-navigation-drawer
v-model="drawer"
fixed
app
>
<v-list dense>
<v-list-tile>
<v-list-tile-action>
<v-icon>home</v-icon>
</v-list-tile-action>
<v-list-tile-content>
<v-list-tile-title>Home</v-list-tile-title>
</v-list-tile-content>
</v-list-tile>
<v-list-tile>
<v-list-tile-action>
<v-icon>contact_mail</v-icon>
</v-list-tile-action>
<v-list-tile-content>
<v-list-tile-title>Contact</v-list-tile-title>
</v-list-tile-content>
</v-list-tile>
</v-list>
</v-navigation-drawer>
<v-toolbar color="indigo" dark fixed app>
<v-toolbar-side-icon @click.stop="drawer = !drawer"></v-toolbar-side-icon>
<v-toolbar-title>Application</v-toolbar-title>
</v-toolbar>
<v-content>
<v-container fluid fill-height>
<v-layout
justify-center
align-center
>
<v-flex text-xs-center>
Map
</v-flex>
</v-layout>
</v-container>
</v-content>
<v-footer color="indigo" app>
<span class="white--text">© 2017</span>
</v-footer>
</v-app>
</template>
<script>
export default {
data: () => ({
drawer: null
}),
props: {
source: String
}
}
</script>Replace the content of the inner <v-layout> with a placeholder saying “Map”. This is where our map component will sit.
Go to App.vue and change it to show the Dashboard component instead of HelloWorld:
<template>
  <div id="app">
    <Dashboard></Dashboard>
  </div>
</template>

<script>
import Dashboard from './components/Dashboard'

export default {
  name: 'App',
  components: {
    Dashboard
  },
  data () {
    return {
      //
    }
  }
}
</script>
Assuming yarn serve is still running, checking the browser again should show you the base app layout:
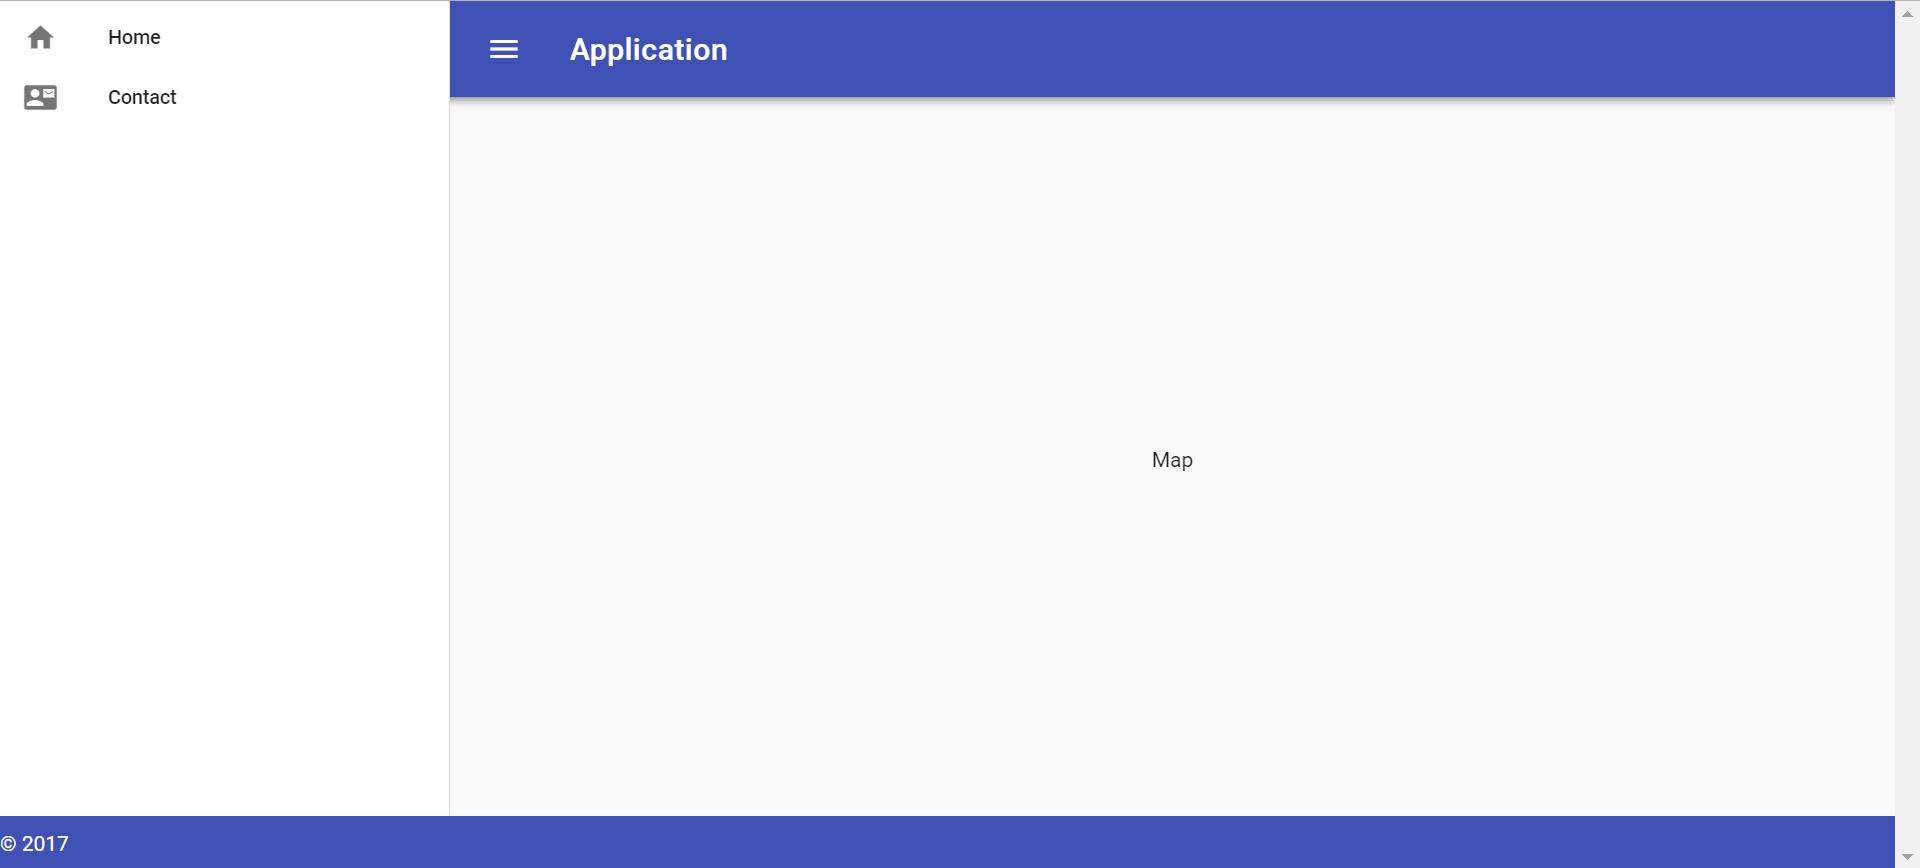
The code for this part is available here.
In the next part we’ll add the map.